
Help center Get started
Getting started
Make an account or try Ledgerly without one, tell it how you’re paid and get a first plan in a couple of minutes.
Ledgerly turns your paychecks into a plan for the year, then helps you follow it month by month. You don’t connect a bank: you tell Ledgerly what you earn and what you plan to spend, and log what actually happens.
Open Ledgerly
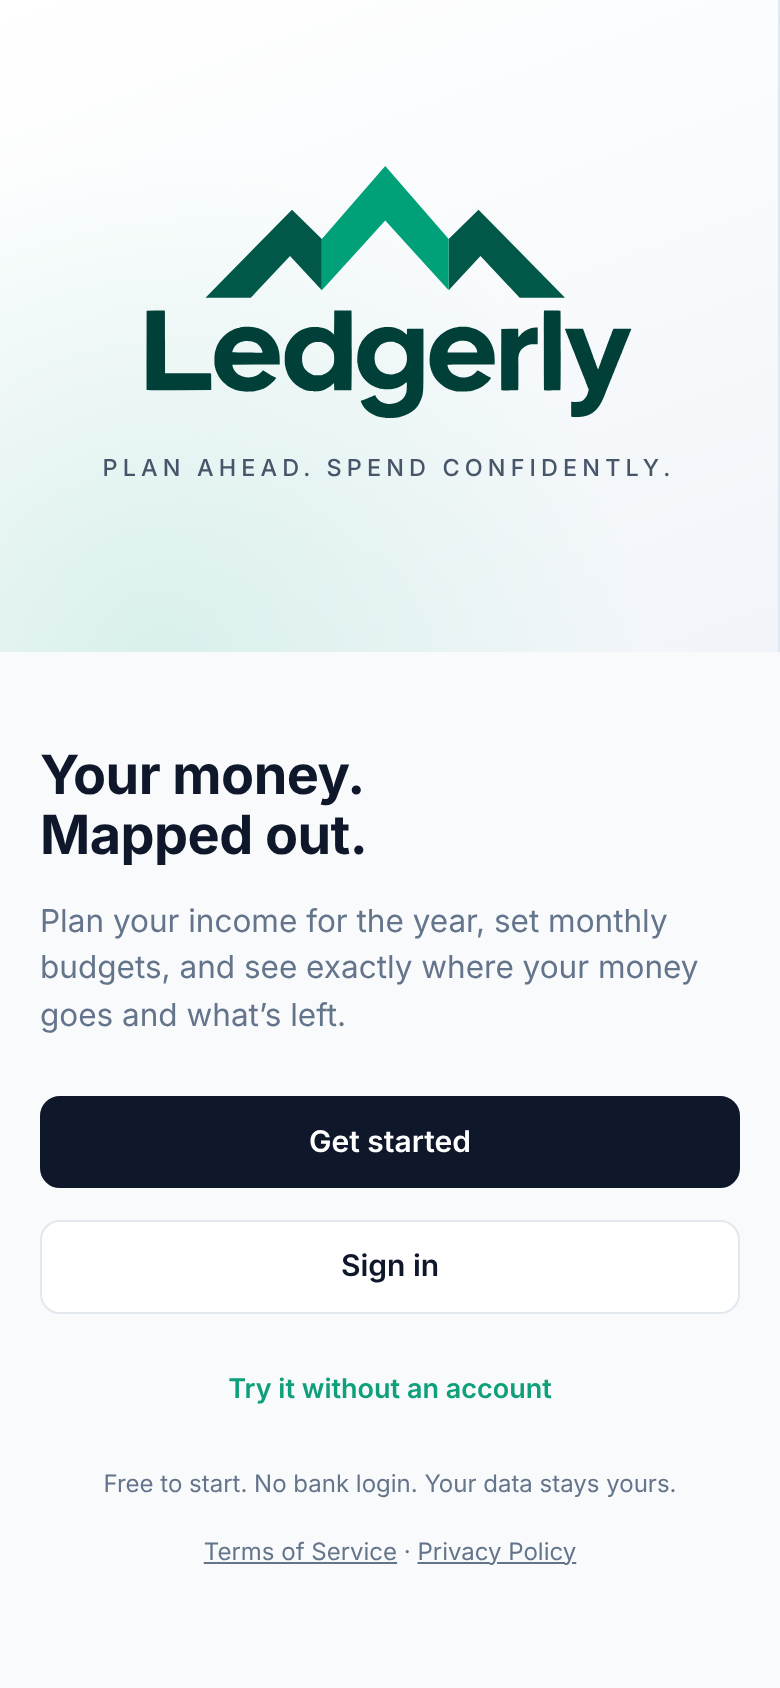
Go to app.myledgerlyapp.com on your phone or computer. You’ll see three choices:
- Get started makes a free account, so your budget is saved online and is the same on every device you sign in on.
- Sign in if you already have an account.
- Try it without an account keeps your budget only on this device. You can make an account later and bring that budget with you.
Making an account asks for your name, email, a password (at least 12 characters), mobile phone, date of birth and mailing address. They stay private: your date of birth confirms you’re 13 or older (under 18, with a parent’s or guardian’s OK), and your phone and address only help show the account is yours if you’re ever locked out.
Tell Ledgerly how you’re paid
Next, Ledgerly asks for a typical paycheck, after taxes, and how often it comes: weekly, every 2 weeks, twice a month, monthly or a yearly salary. For weekly or every-2-weeks pay, add A recent payday too, so Ledgerly knows when your next paychecks come. If your pay changes from check to check (contract work, freelance, tips), tick the box under it and enter a typical amount.
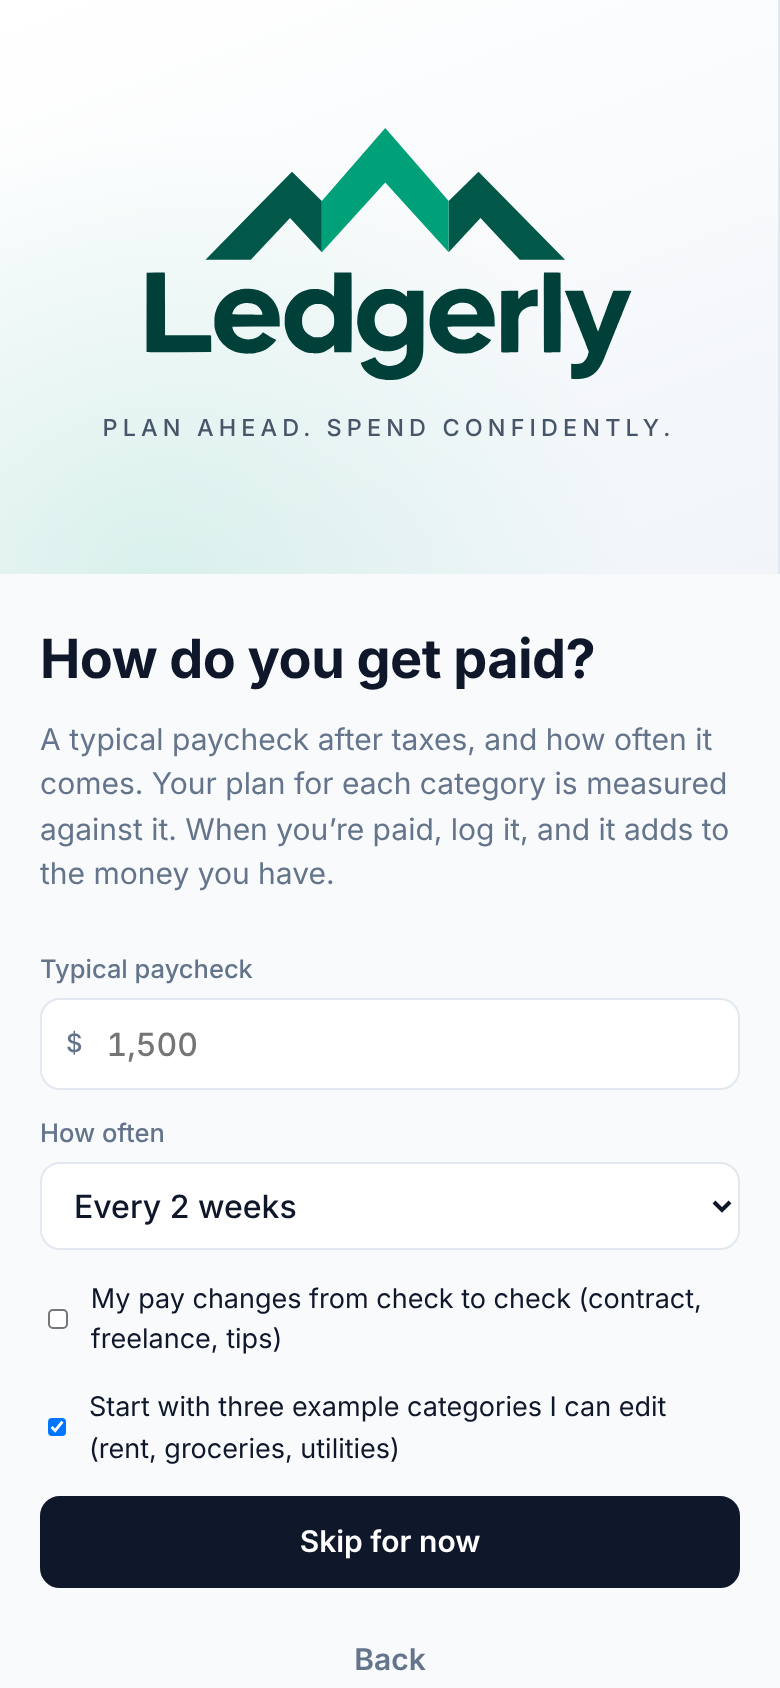
Leave Start with three example categories I can edit ticked to start with rent, groceries and utilities. You can rename, change or delete every one of them, and the Free plan still has room for two more of your own. Ledgerly never adds income or savings you didn’t enter. Choose Skip for now to add your pay later in My Plan → Add income.
Take the tour
The first time you open Ledgerly, a short tour points at each part of the app while you do the real thing: adding income, setting a category and logging a purchase. It takes about two minutes, and if you leave partway, it picks up where you left off. You can take it again any time from Settings → Take the tour.
Find your way around
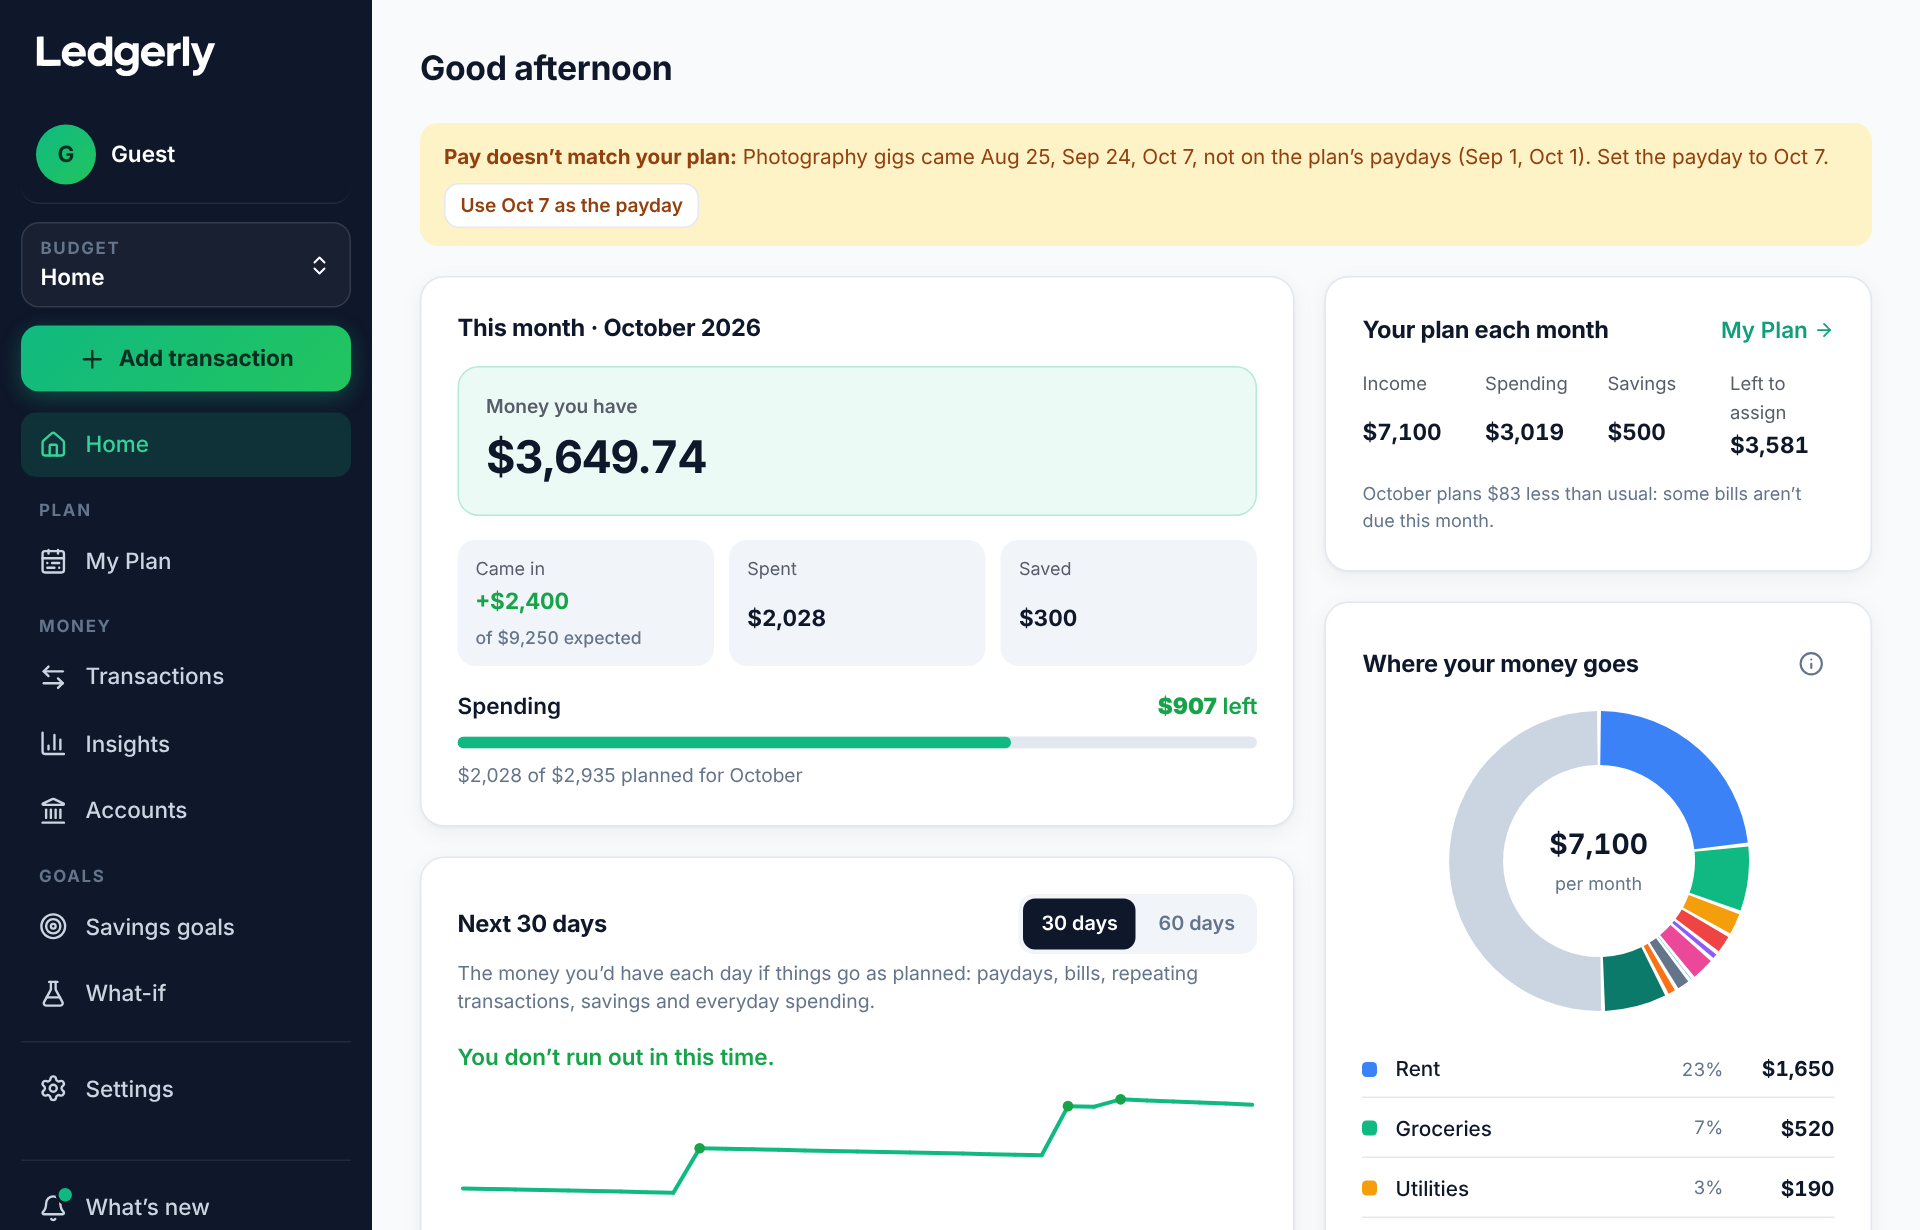
On a computer the menu is on the left. On a phone, the main pages are along the bottom and the rest are under More.
- Home: how this month is going.
- My Plan: your income, and how much goes to each category and savings goal.
- Transactions: everything you’ve logged.
- Insights: charts of where your money went.
- Savings goals and What-if: your goals, and a safe place to try changes to your plan.
- Settings: your account, budgets, backups and more.
Add transaction at the top of the menu (on a phone, the green + button) is always there for logging a purchase, a paycheck or money moved to savings.
What next
- Add the rest of your income, like a second job or side work.
- Set up your spending categories and see what’s left to assign.
- Log what you spend as you go.
- Already keep a spreadsheet? Import it: your bank’s download or your own budget.